1
01
Property Protection Setup
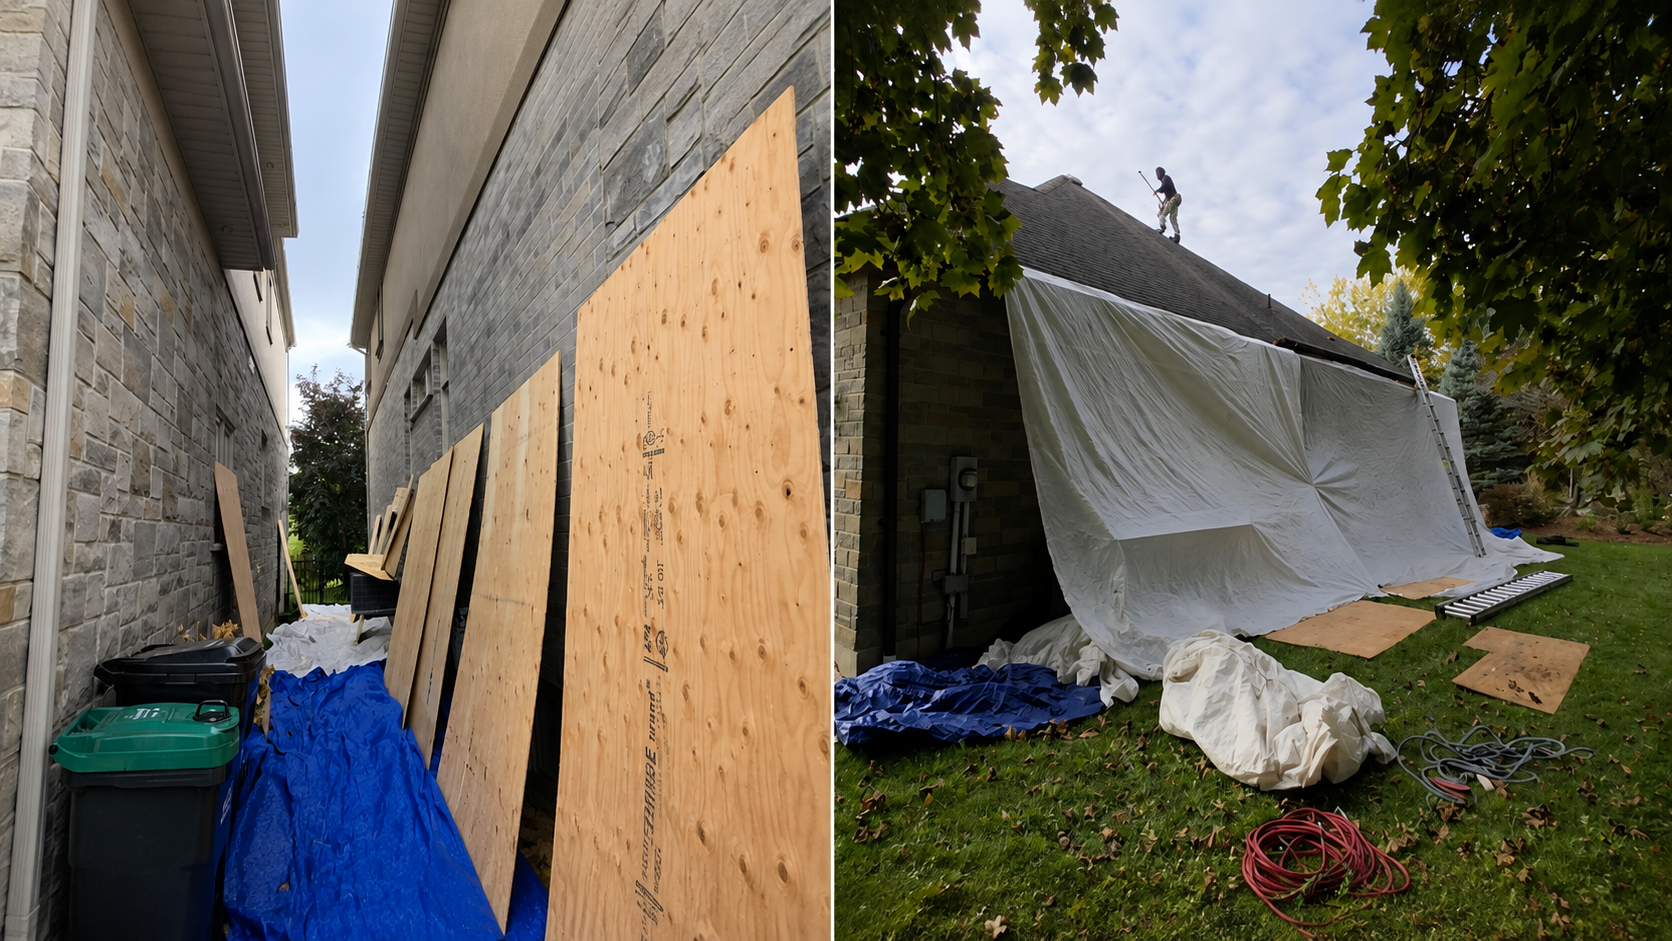
Set up is very important to prevent any property damage. Using tarps and plywood to cover windows, decks, AC units, and other vulnerable areas.

Every North Guard Roofing installation follows our thorough 12-step process — ensuring quality, safety, and a clean finish every time.
Set up is very important to prevent any property damage. Using tarps and plywood to cover windows, decks, AC units, and other vulnerable areas.
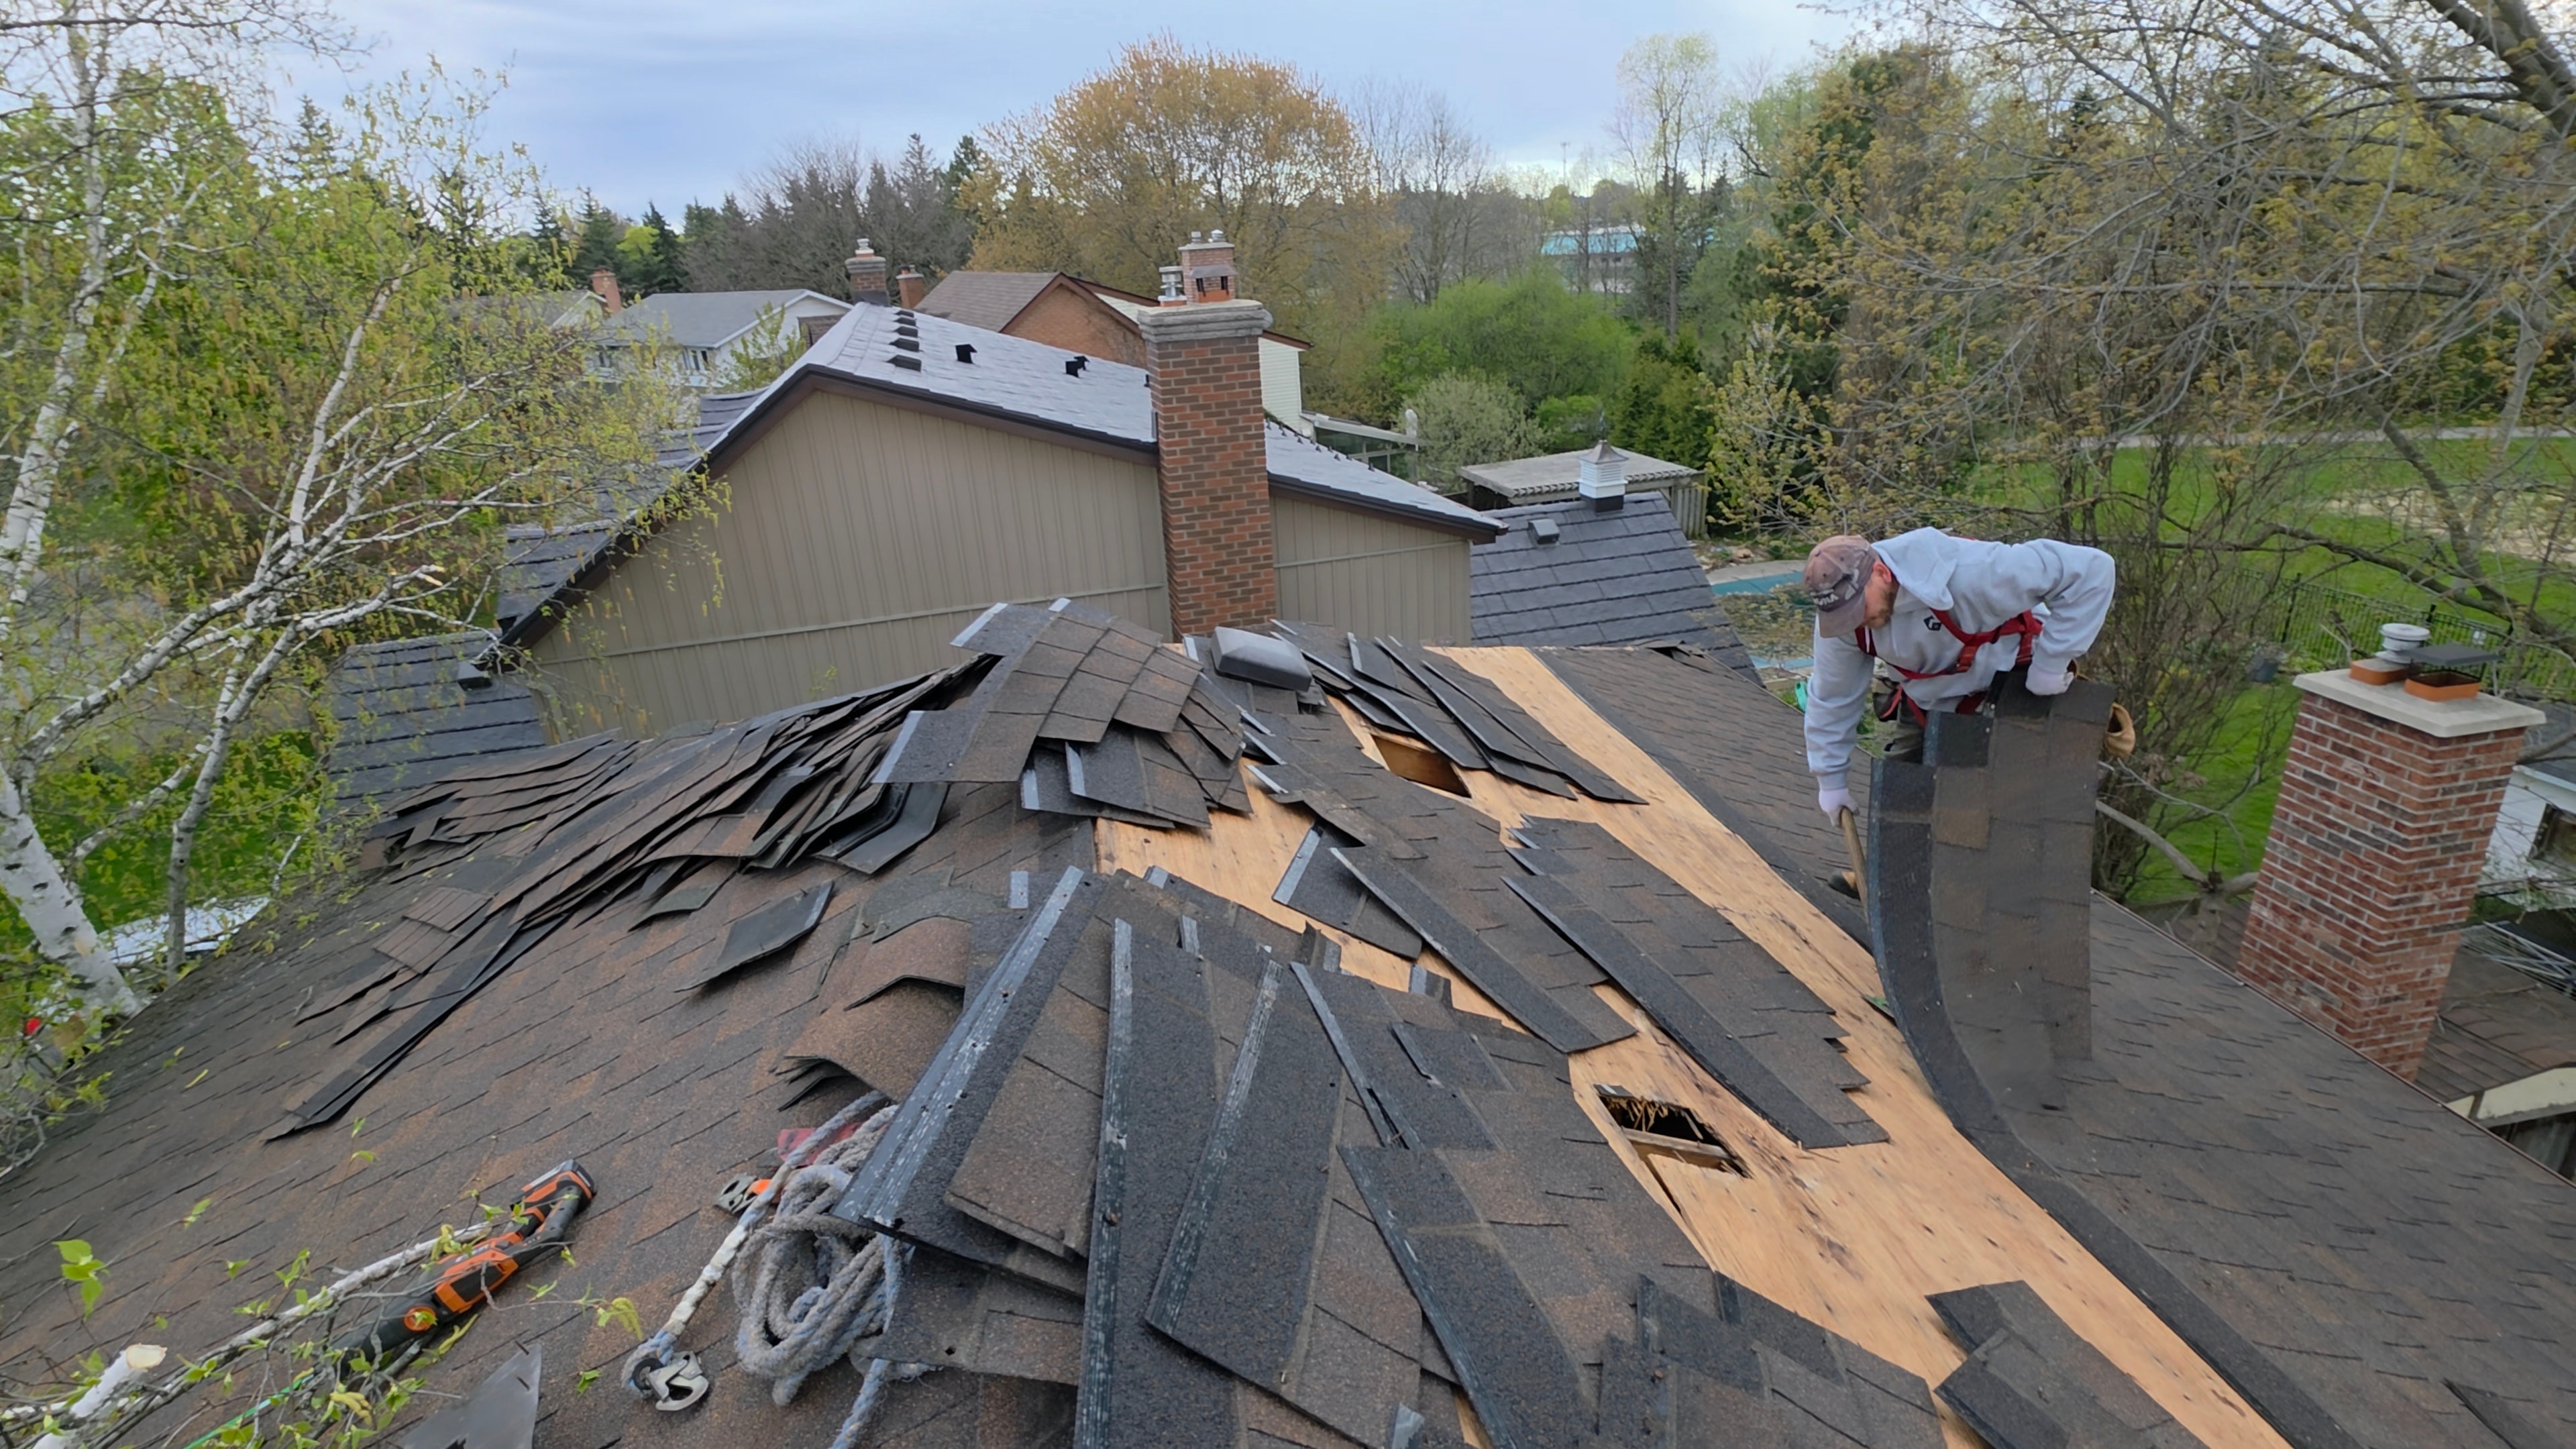
Remove old shingles and dispose of them into a bin, clearing the roof deck for inspection and new materials.
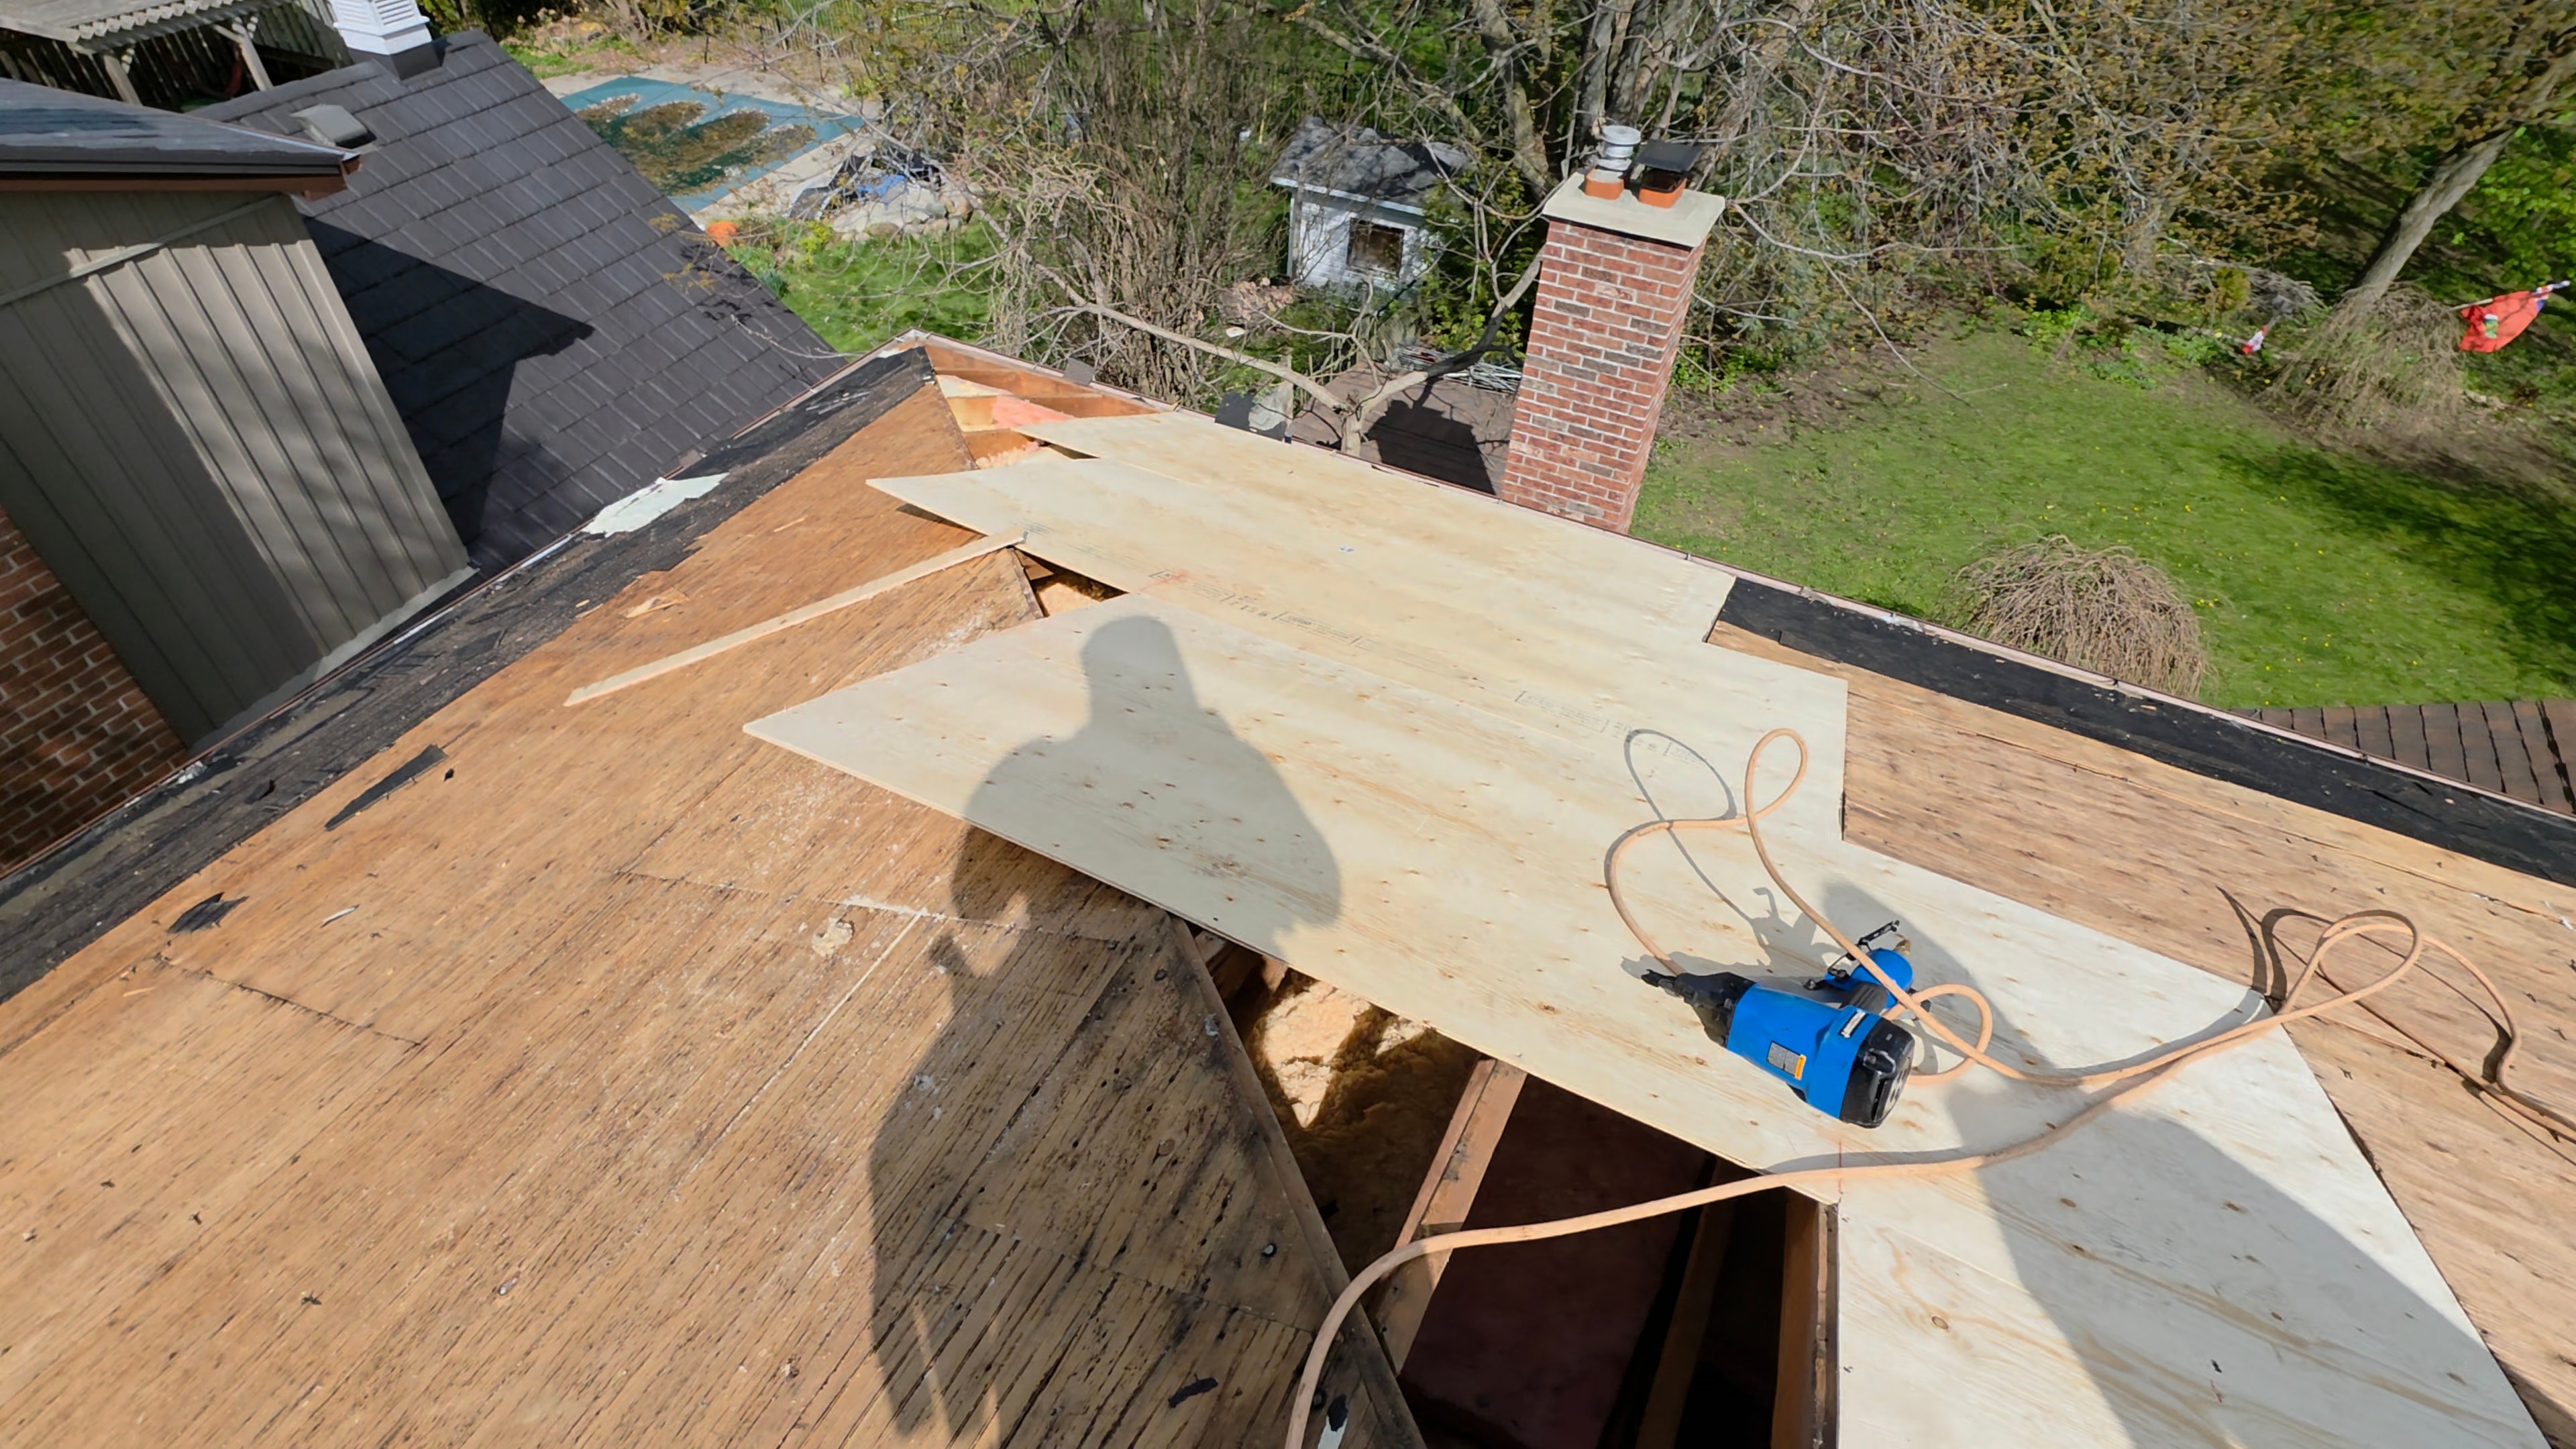
Replace any rotted or damaged plywood with new sheets, ensuring a solid and stable roof deck before installation begins.
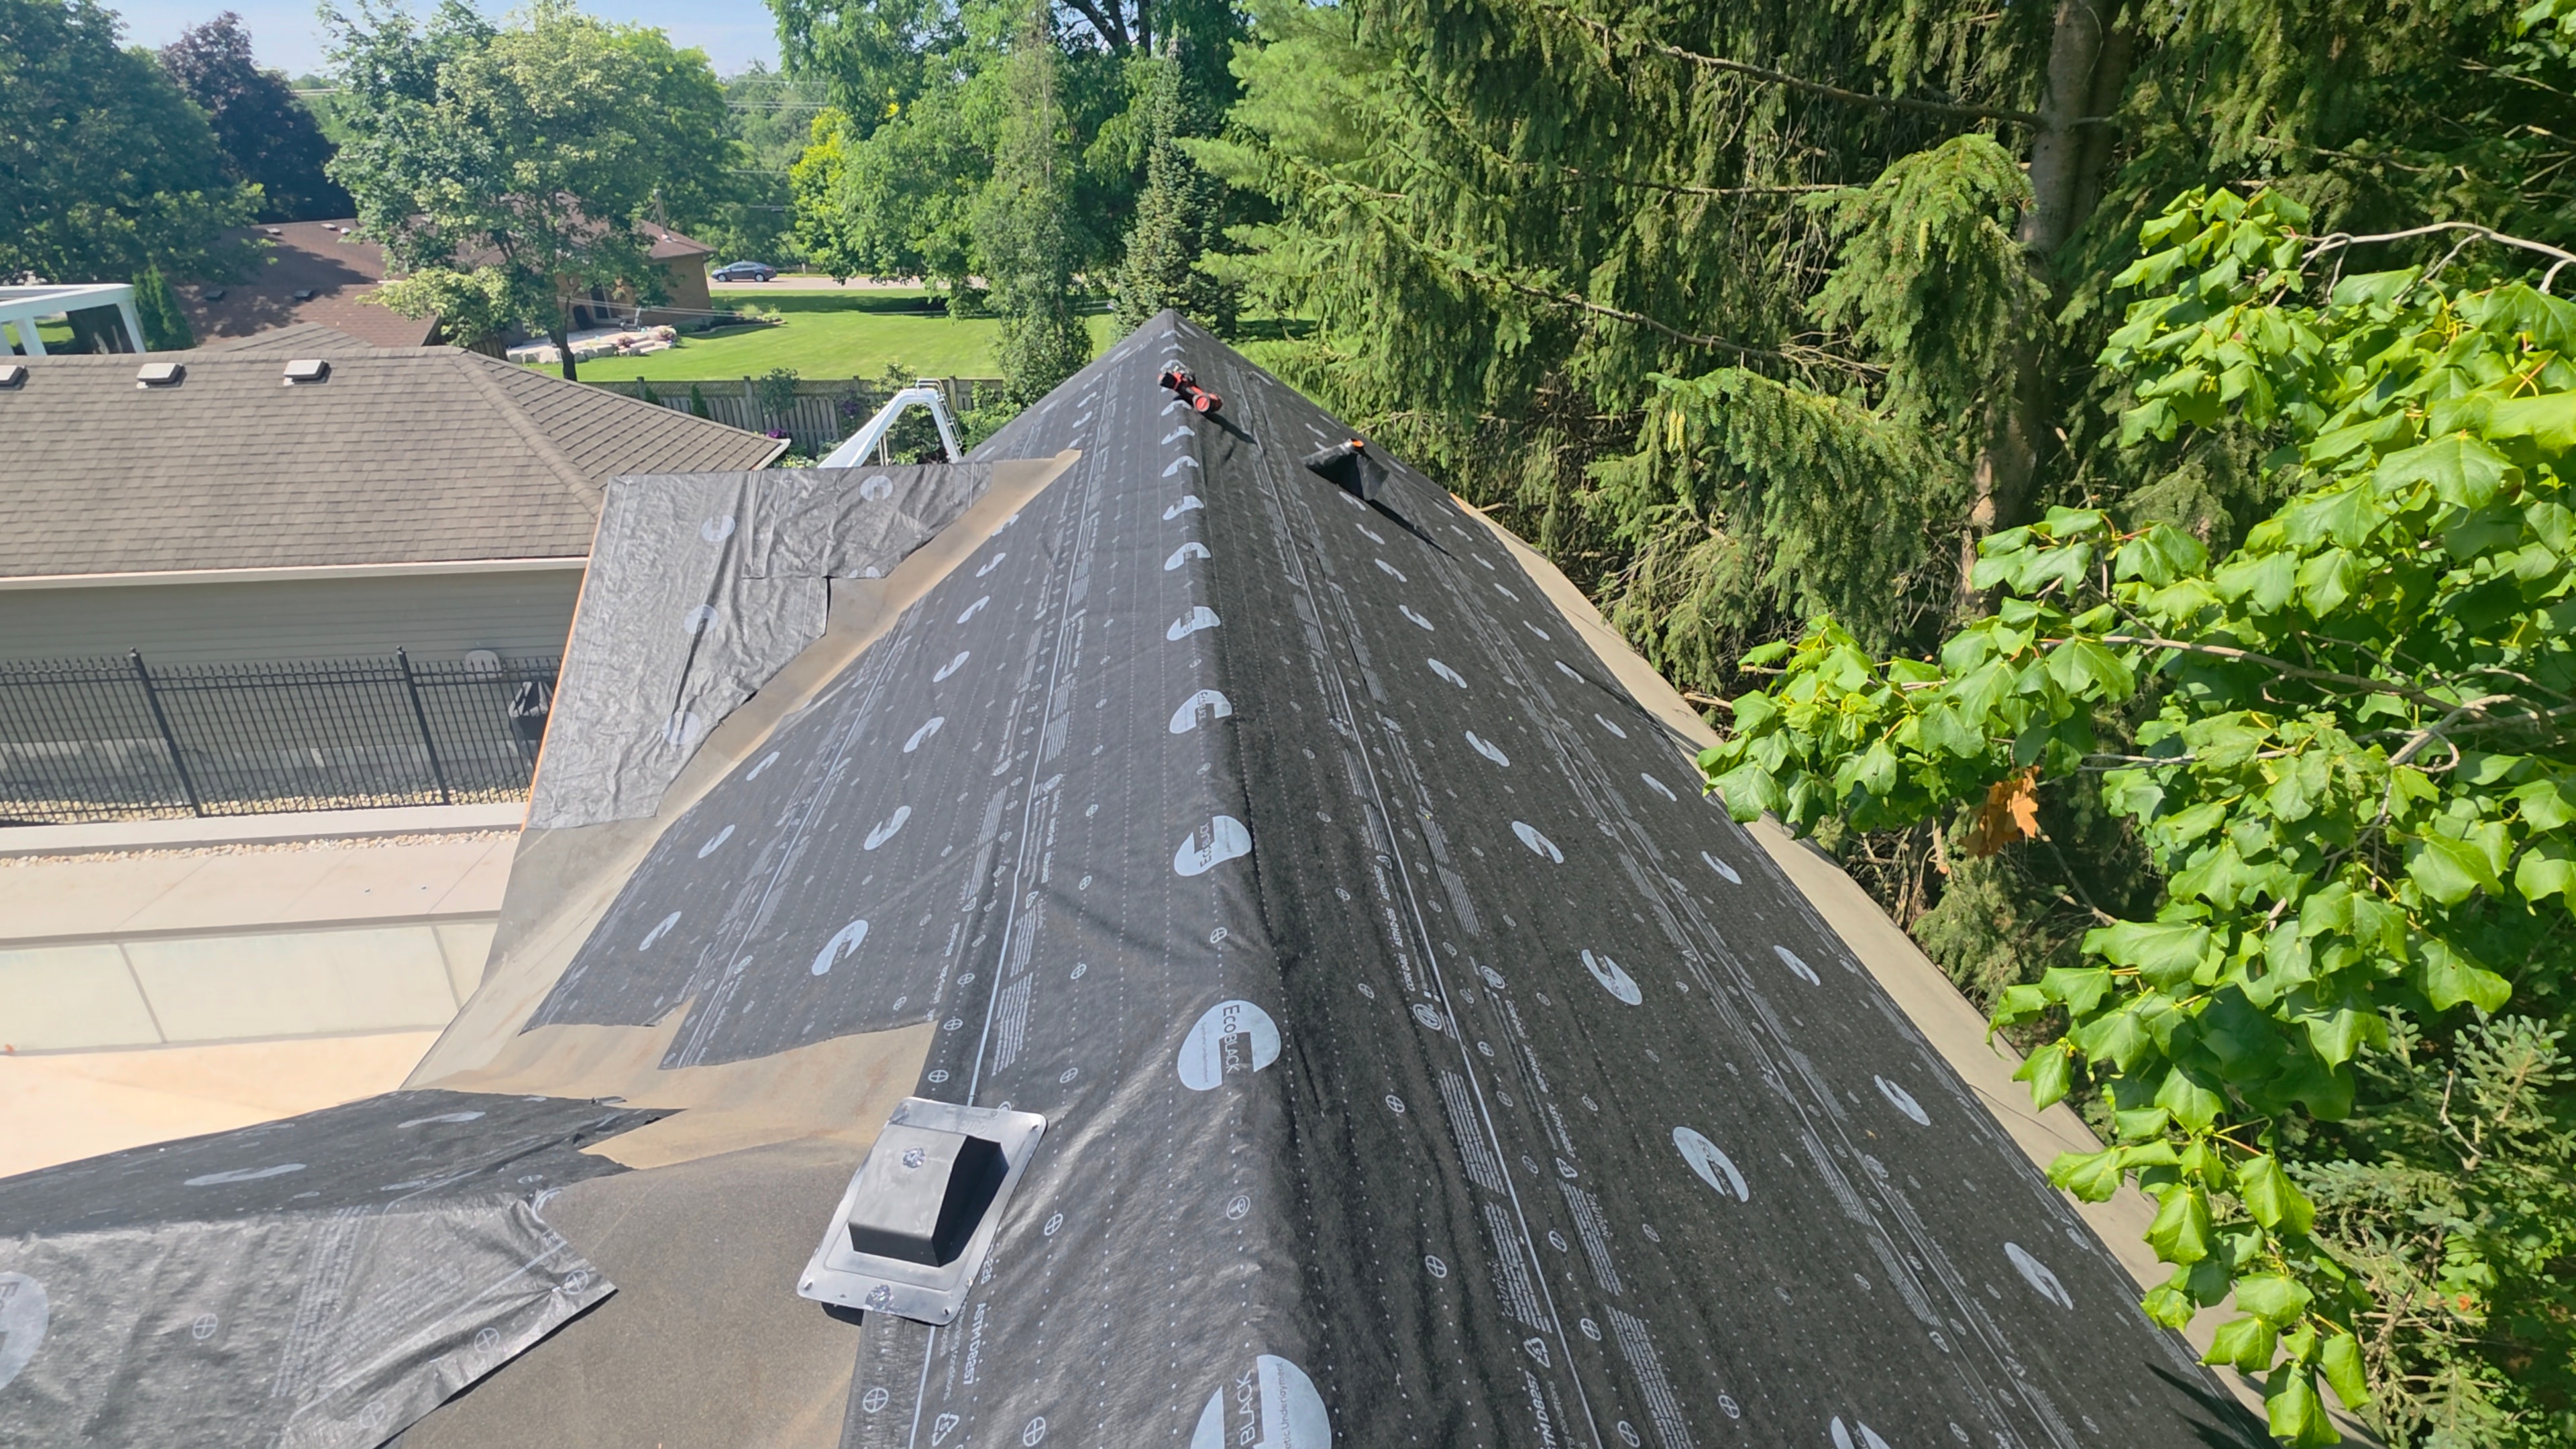
Run Ice and Water Shield 3 feet up the eaves and cover the entire roof deck with synthetic underlayment for maximum moisture protection.
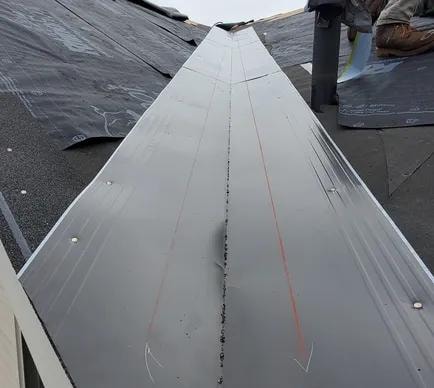
Install metal valleys where needed to direct water flow away from vulnerable roof intersections and prevent leaks.
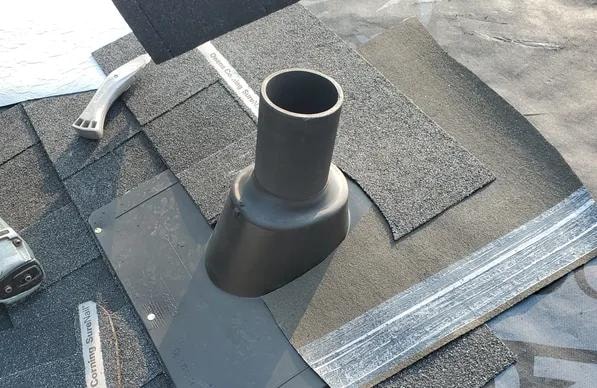
Install new plumbing stack flashing to seal around all roof penetrations and prevent water intrusion.
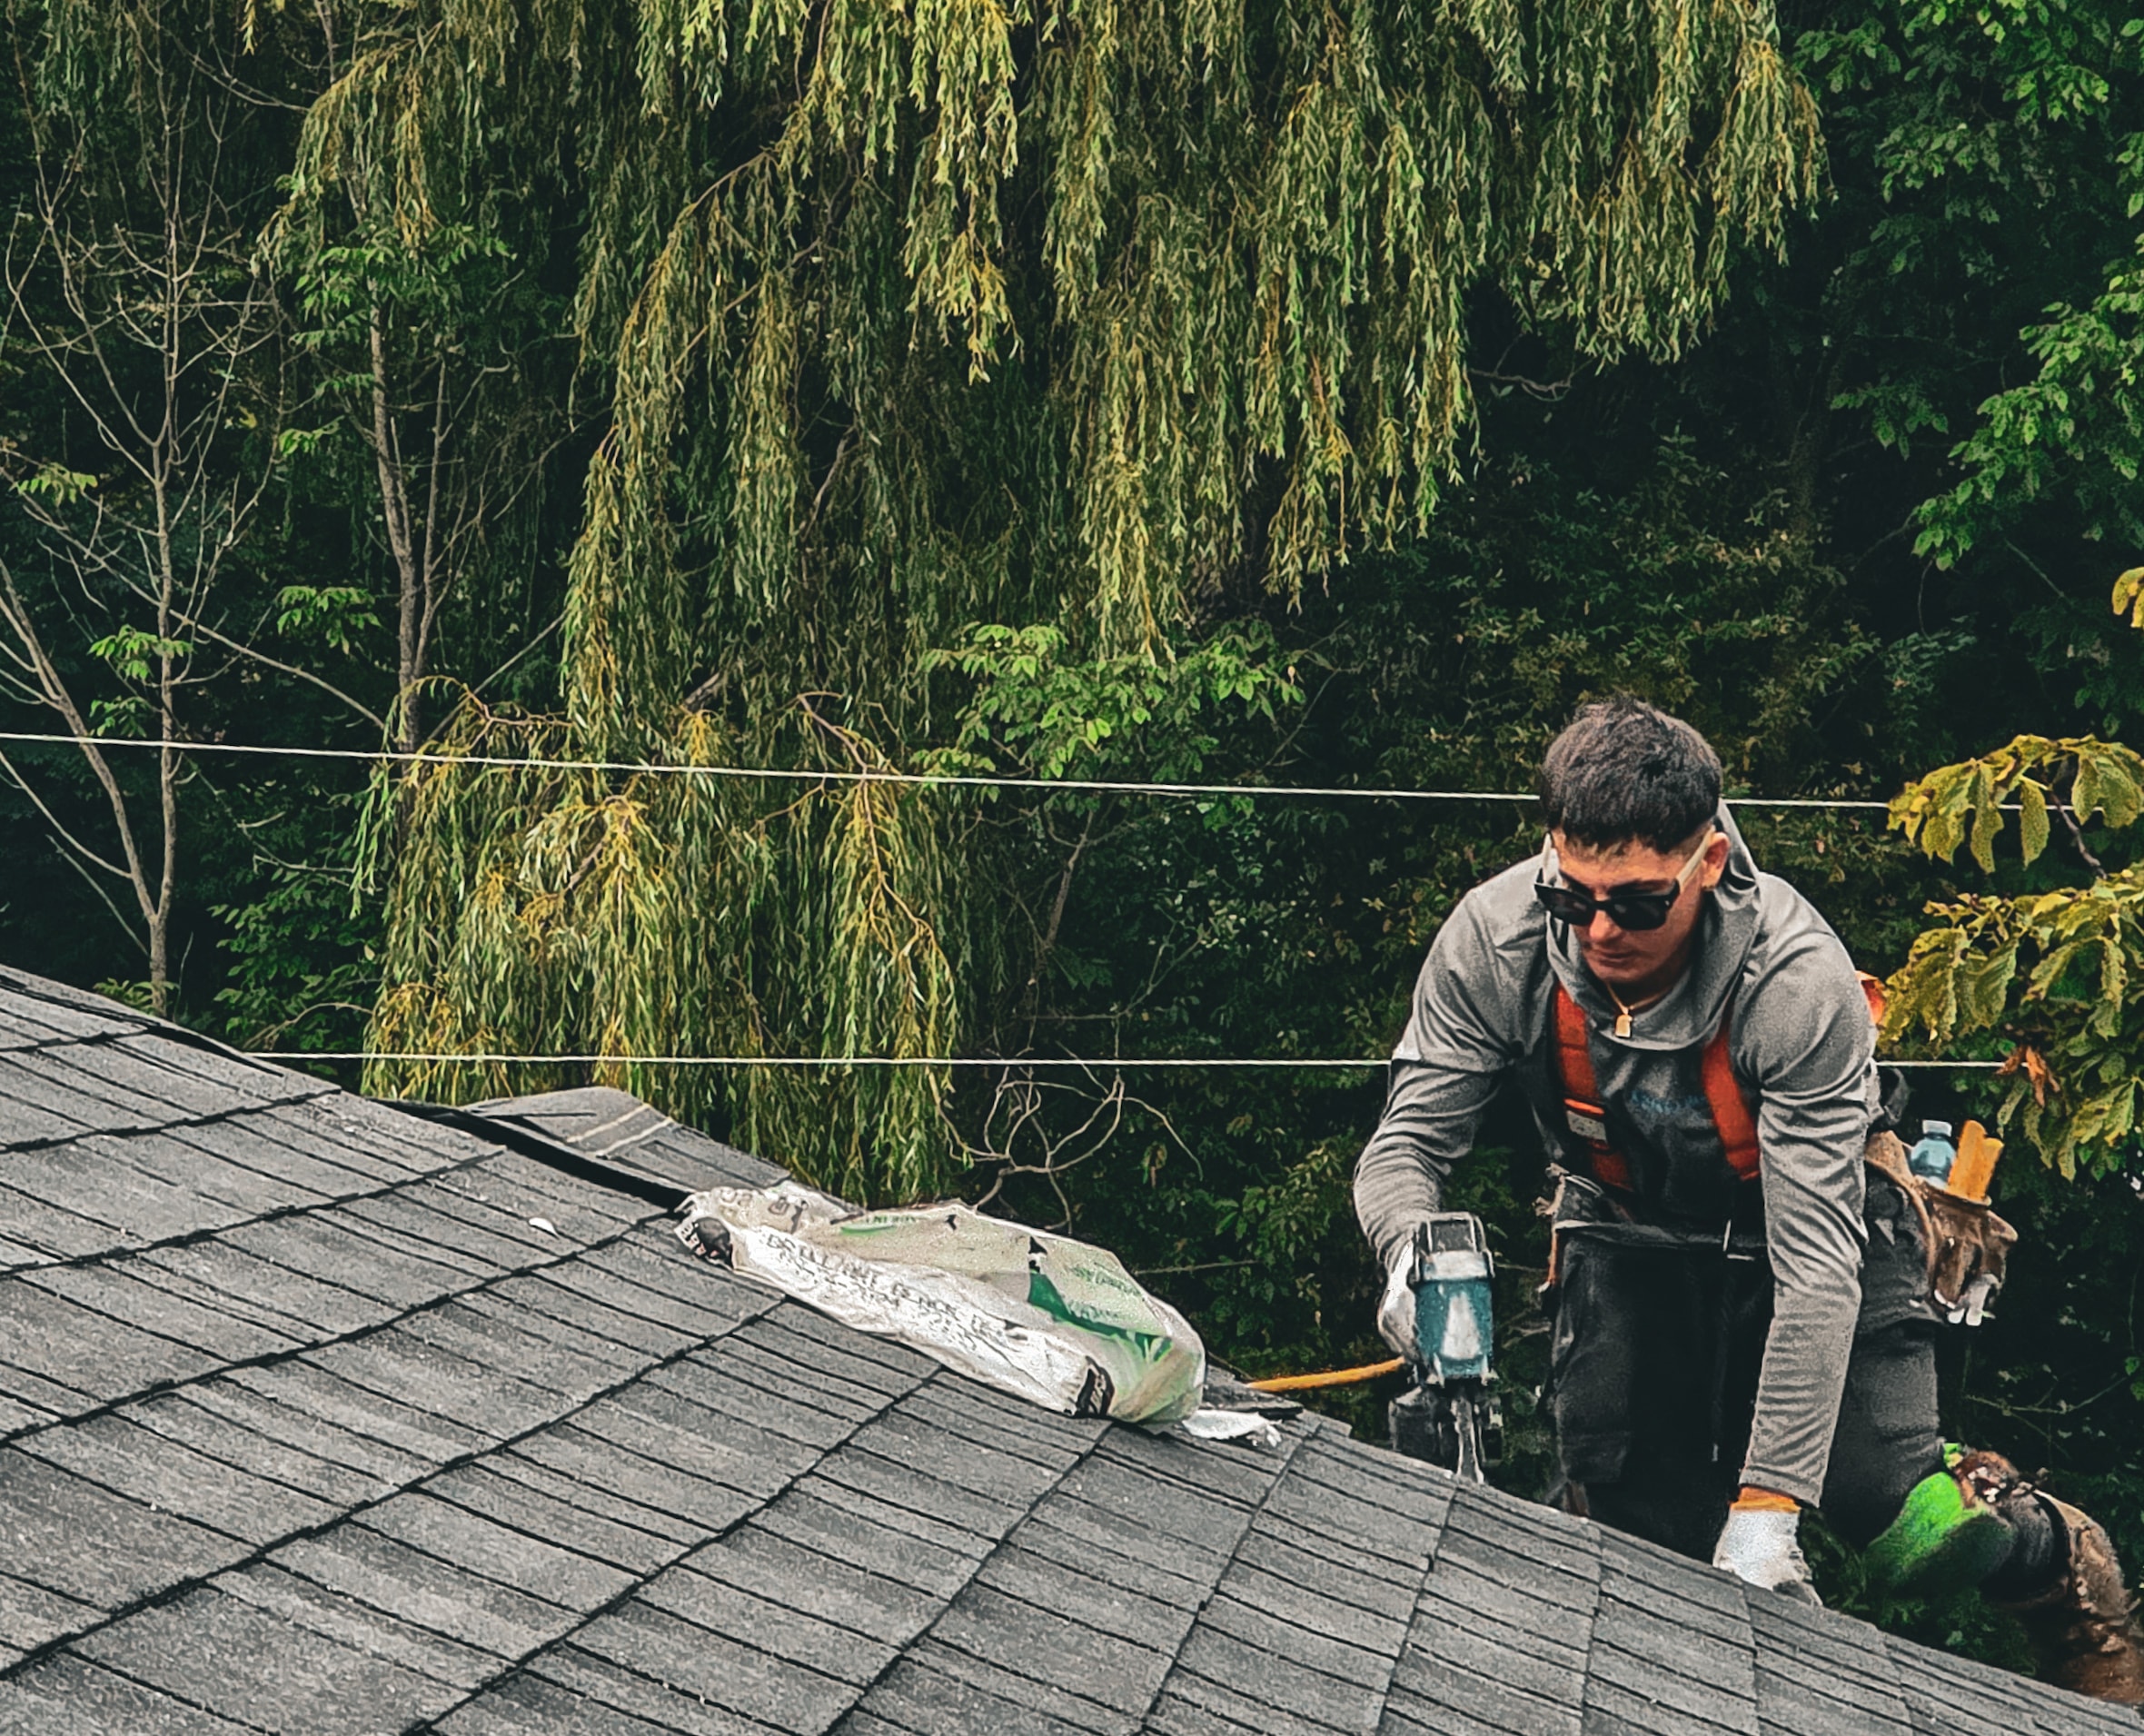
Install new shingles using manufacturer-approved techniques, ensuring proper alignment, nailing patterns, and overlap for a durable, weather-tight roof.
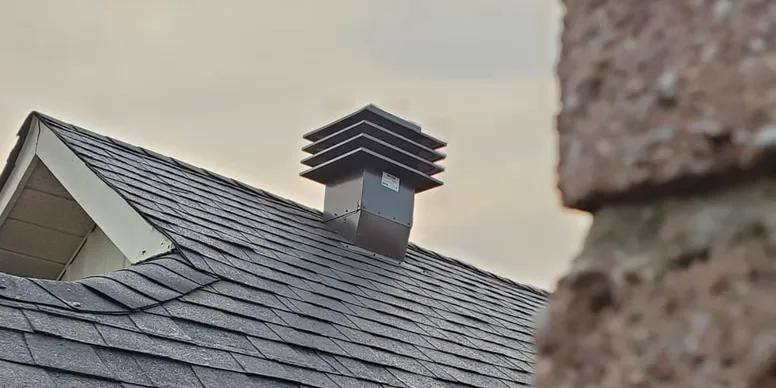
Install new vents — maximum vent, ridge vent, or conventional vent — to ensure proper attic ventilation and extend the life of your roof.
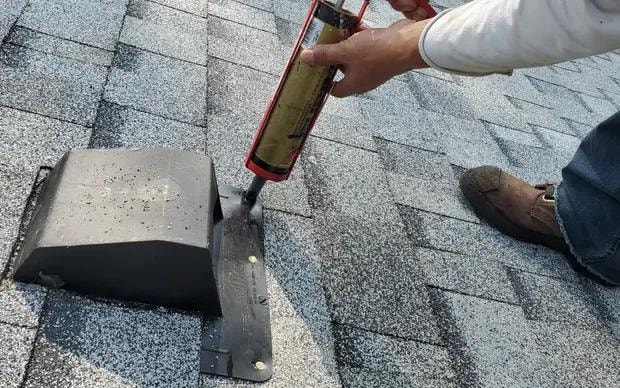
Seal any exposed nails on vents with caulking to prevent rust and water infiltration at all penetration points.
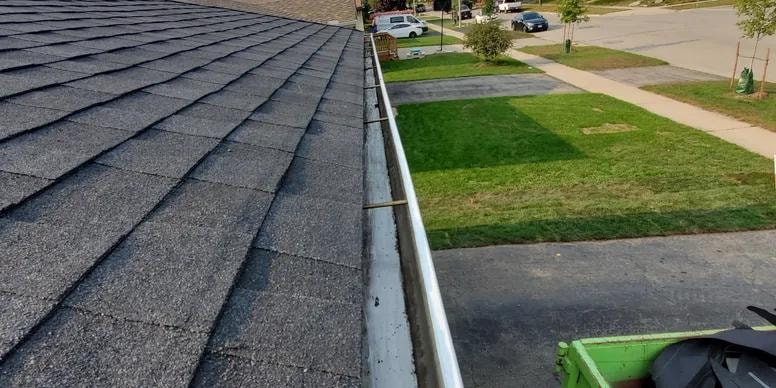
Clean gutters of all debris and roofing material to ensure proper water drainage away from your home's foundation.
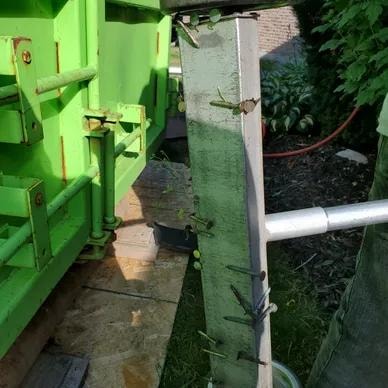
Clean all debris around the house and use a magnetic sweeper to pick up any loose nails, leaving your property spotless.
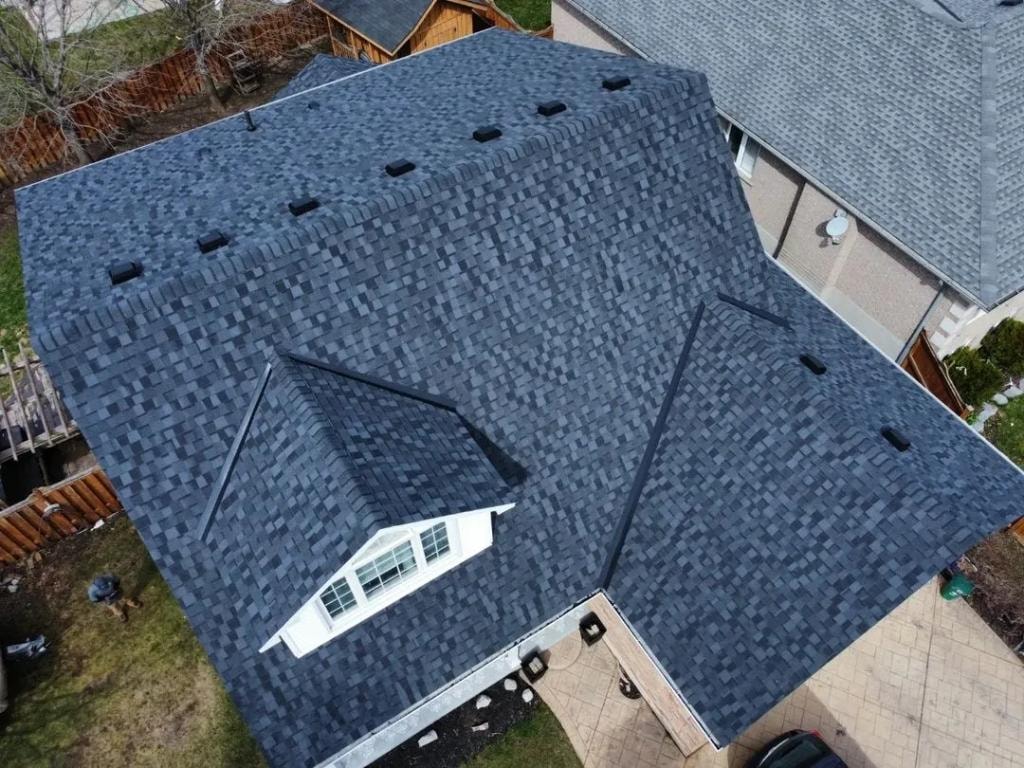
Enjoy your new roof for years to come! North Guard Roofing stands behind every installation with our 10-Year Workmanship Warranty.
Contact North Guard Roofing today and experience our proven 12-step process for yourself.
Need a New Roof or Repair?